Day 1 to Day 10 learning After Effects.

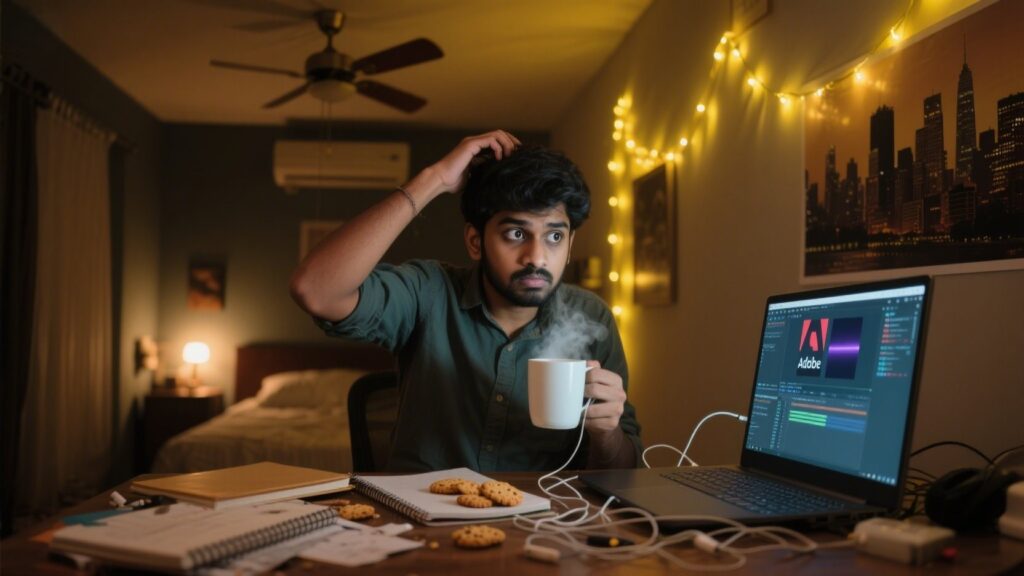
o… I finally decided to learn After Effects. Matlab, for years I was the “Premiere Pro banda” jo sirf cuts, transitions, thoda sa color grading karta tha. But phir ek din client ne casually bol diya: “Can you make this text explode into particles and then turn into a logo?” Aur main bas screen ke samne silent.
First download hua, open kiya… bro, the UI itself looked like it was judging me. Panels everywhere, ek timeline jo lagta tha jaise kisi alien ne bana di ho, aur woh chhota sa diamond icon (jo main samajh raha tha decoration hai) actually keyframe nikla — the literal heart of animation.
Day 1: Just Opening the App is Overwhelming
Pehle 30 minutes bas mouse ghuma raha tha, random tools click kar raha tha, aur accidentally ek layer delete kar di. Lesson number one: Always Ctrl+Z is your best friend. Matlab jitna maine AE me Ctrl+Z kiya hai, utna toh life me regrets reverse nahi hue.
Aur haan, shortcut number one jo instantly help karta hai:
- Spacebar = Play/Preview your animation.
Pehle main top corner pe preview button click karta tha like a noob.
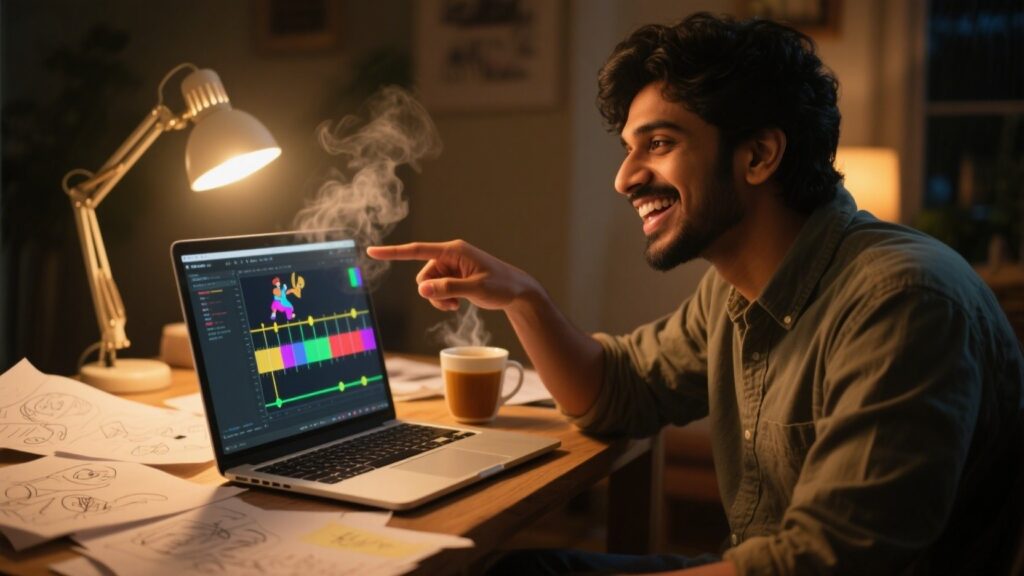
Day 3: Keyframes Are Life
So apparently, kuch bhi move karna ho, fade karna ho, ya rotate karna ho — tumhe keyframes chahiye. It’s literally “Before” and “After” snapshots of your animation, aur AE unke beech ka magic khud fill karta hai.
Shortcut that saved my sanity:
- U = Show all animated properties on a layer.
Pehle har property open kar ke dekhna padta tha, ab ek keypress me saara kaam saamne.
Aur haan, Easy Ease (F9) ka magic seekh lo — tumhare stiff animation suddenly smooth ban jayenge. Jaise ek awkward dancer ko suddenly rhythm mil gaya ho.

Day 5: Pre-Compose or Cry Later
By now, my timeline looked like spaghetti. Layers upar layers. Ek time pe I accidentally changed opacity on the wrong layer aur pura scene off ho gaya. That’s when I learned Pre-Compose. Basically tum layers ko ek group me daal ke saath me edit kar sakte ho.
Shortcut:
- Ctrl+Shift+C = Pre-Compose selected layers.
Trust me, mental health ke liye yeh zaroori hai.
Day 7: Effects & Presets – Don’t Go Crazy
Bhai, AE ke effects tab me jaoge toh tum khud se pyaar karoge. Glow, blur, distort — sab tempting lagte hain. Pehle main har cheez pe glow laga raha tha, lagta tha wow cinematic. Lekin jab render kiya toh laga jaise 2010 ka wedding video ban gaya ho.
Pro tip: minimal effects with good timing >>> random overload. Also, ek useful shortcut:
- Ctrl+Alt+Shift+E = Apply last used effect to selected layer.
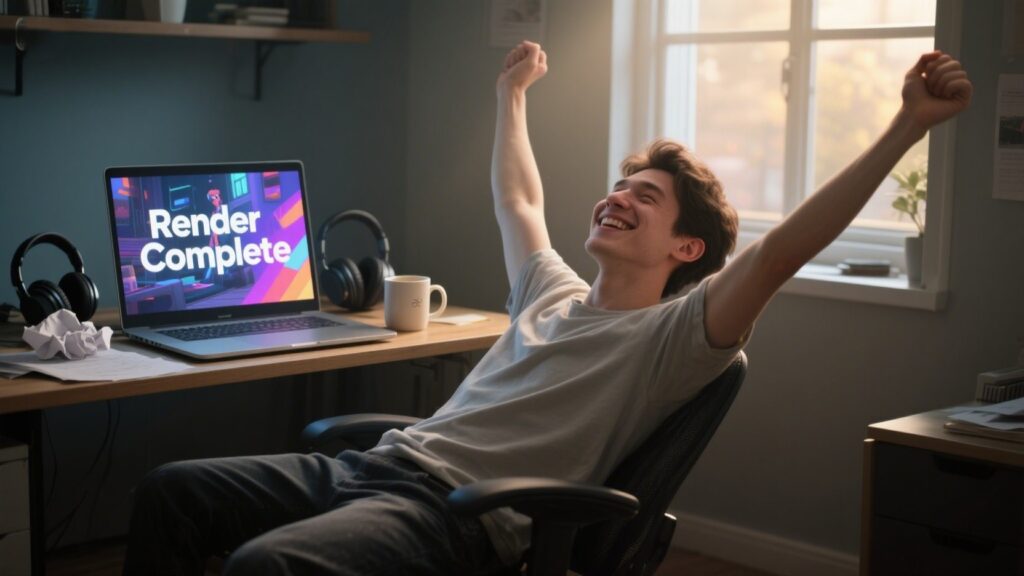
Day 10: Rendering – The Waiting Game

Pehla render kiya 4K me because I thought bigger number = better quality. Laptop ka fan NASA rocket launch kar raha tha. Aur jab finally complete hua, client ne bola: “HD is fine.” Us din samajh aaya — Always set render settings according to need.
Best practice: Output Module → H.264 for most videos. Chhota size, decent quality.
Mini Tricks I Picked Along the Way
- Anchor Point Adjustment (Y key) — Move your rotation/pivot point for better animations.
- Mask Feather (F) — Smooth edges without complex effects.
- Shift + Drag — Keeps your layer aligned when moving.
- Ctrl+D — Duplicate anything instantly.
Aur haan, seekhne ka best way — chhote projects pe kaam karo. Jaise ek simple text animation banake usme har naye shortcut ko try karo.
External Links That Actually Helped Me Learn
- Official Adobe Tutorials: https://helpx.adobe.com/after-effects/tutorials.html
- AE Shortcuts Guide: https://helpx.adobe.com/after-effects/using/keyboard-shortcuts-reference.html
- Motion Graphics School: https://www.schoolofmotion.com
- Free Templates: https://motionarray.com
Abhi bhi main expert nahi hoon — main bas beginner se intermediate ki taraf crawl kar raha hoon. Har project me kuch naya sikhta hoon, kabhi galti karta hoon, kabhi proud feel karta hoon. Lekin ek baat sach hai: After Effects seekhna patience ka game hai. Aur jab tum animation ko finally smooth chalte hue dekhte ho, woh satisfaction priceless hota hai.
Anyway. Ye likhte likhte meri chai thandi ho gayi. Good luck if you’re tryna learn this too.
Contact us Peace 💕


